
Newton Wood Flooring has done hardwood floor repair in Newton, MA for more than 20 years, serving surrounding cities including Watertown, Brookline, Needham, Wellesley and Waltham. The repairs we are called for most are the ones older houses collect: holes where radiators came out, bare strips where a wall was removed, boards blackened by water or pets, and floors that squeak with every step.
A good repair is one you cannot find afterward. That means matching the species, width and grade of the original boards, weaving the new ones into the existing pattern instead of dropping in a square patch, and finishing the area so the color and sheen agree with the floor around it.
We look at what caused the damage before fixing it. A board replaced over a wet subfloor, or a squeak fixed without finding the loose joist, only comes back, so the cause is part of every quote.
Patches That Read as Floor
Holes Where Radiators Came Out
When steam radiators and their pipes are removed, they leave round pipe holes and a rectangle of wood that was never finished, or was finished differently, under the radiator. Filling those holes with putty or a plug leaves a spot that stays visible for the life of the floor.
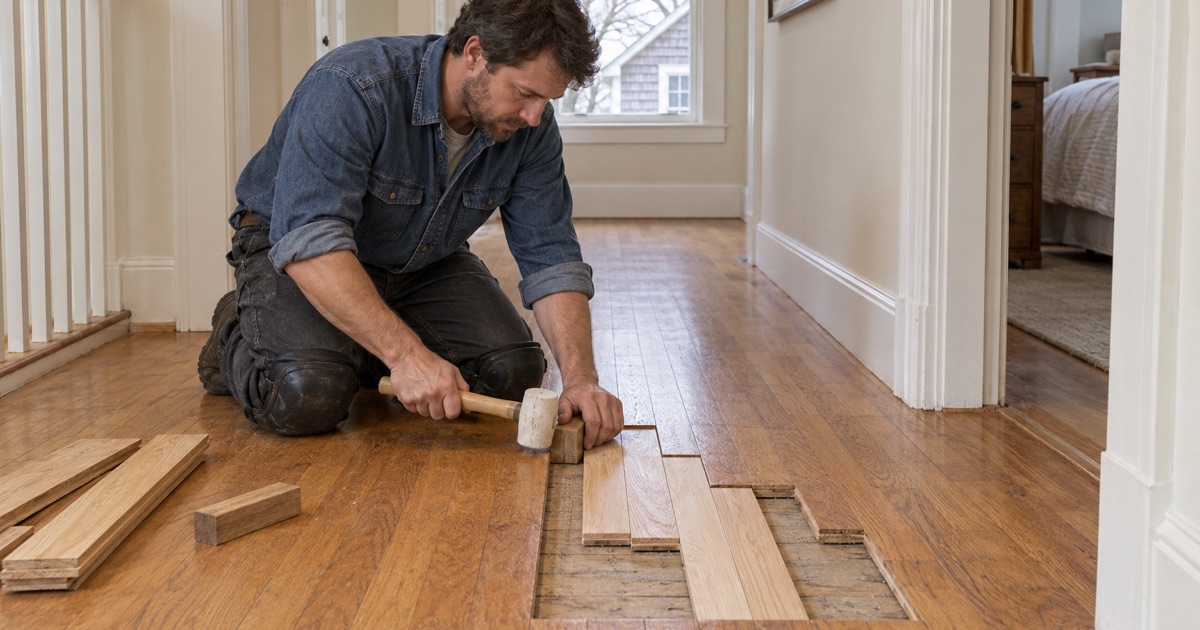
We remove the damaged boards and weave matching boards in, staggering the ends so the patch follows the floor’s own pattern. After sanding, a radiator removal patch done this way is very hard to find.
Gaps Where a Wall Was Removed
Opening up a kitchen or joining two rooms leaves a strip of subfloor, or boards running the wrong direction, where the wall stood. Often the floors on either side were laid at different times and are not quite the same height or species.
We lace new boards into both sides of the old wall line so the joints break naturally across it, adjusting for height where needed. The same approach works where an outlet, heating vent or doorway was moved and left a gap behind.
Stained, Burned and Gouged Boards
Black stains from pet urine or long-standing water, burns, deep gouges and split boards are all repaired the same way: by board replacement rather than by sanding. Sanding takes off the surface, but these marks run deeper than any sanding should go.
We cut out only the boards that need it, without disturbing their neighbors, and fit replacements with the tongue and groove intact where possible. The result is a floor that sands and finishes evenly instead of showing a dark ghost of the old damage.
Problems Under the Boards
Squeaks and Loose Floorboards
Squeaks come from movement: boards rubbing against each other, against loose cut nails, or against a subfloor that has pulled away from a joist. We listen for the exact spot and find out which of those is the cause before fastening anything.
Where the ceiling below is open, we refasten from underneath, which leaves no marks on the floor. Otherwise, we fasten from above and set and fill the heads so they disappear when the floor is finished.
Soft or Rotted Subfloor
A floor that flexes near a toilet, a dishwasher or an exterior door usually means water has been getting into the subfloor for a long time. The boards on top may look fine until they crack or sink.
We open the area, cut back to sound subfloor, replace the damaged section and check the joist beneath it. Only then do new boards go down, matched and woven in, so the repair is solid underfoot as well as invisible.
Insect Damage in Old Wood
Small round exit holes and fine frass are the marks of wood-boring insects such as the powderpost beetle and the old house borer. Some are long gone; others are still active, and the difference matters.
We note the extent of the damage and recommend a pest professional when fresh frass suggests the insects are still working. Once that is dealt with, we replace weakened boards and repair the rest of the floor around them.
When the Whole Floor Moves
Seasonal Gaps in Winter
Winter gaps open as heated indoor air dries the boards and they shrink across their width. In most houses they close again as humidity returns, and filling them is a mistake, because the filler is crushed or squeezed out when the boards swell.
We help you tell normal seasonal movement from a real problem, such as gaps that stay open all year. Those can be filled with slivers of matching wood or, where they are large, the boards can be taken up and relaid.
Cupping and Crowning
Cupping, where board edges rise above the center, means more moisture below the floor than above it. Crowning, the opposite, often happens when a cupped floor is sanded flat before it has dried.
We find and fix the moisture source first, then give the floor time to settle while we track it with a moisture meter. Sanding only happens once the readings are stable, which keeps the floor from changing shape again afterward.
Buckled Boards
Buckling, where boards lift right off the subfloor, is the most severe form of moisture damage. It usually follows a flood or a long-running leak, and sometimes a floor installed without a proper expansion gap at the walls.
We remove the lifted boards, deal with the moisture and check the expansion gap around the room. Boards that are still sound can sometimes be reinstalled; the rest are replaced with matching wood.
Finishing a Repair So It Disappears
Matching the Original Boards
New boards are chosen to match the original species, width, thickness and grade, such as red oak strip flooring, maple or eastern white pine. Older floors often use widths or grades that are hard to buy today, so we look for salvaged boards when new stock would stand out.
Age matters as much as species. A century-old oak board has darkened through its whole surface, and a new board of the same species will look pale beside it until stain or time closes the gap. We test color on the patch itself before finishing, rather than guessing from a sample.
Spot Blending or a Full Room
A repair on a recently finished floor can sometimes be stained and coated to blend with the finish around it. On an older floor, an aged finish rarely matches a new one, and the patch looks newer until the whole room is sanded and finished together.
We tell you which result to expect before the work starts. If the room is close to needing a refinish anyway, doing the repair and the refinish together is usually the better value.
Our Step-by-Step Hardwood Floor Repair Process
1. Find the Cause
Before any board comes out, we work out why it failed: a leak, a loose joist, a missing expansion gap, insects or simple wear. Fixing the floor without fixing the cause is how the same repair ends up being paid for twice.
2. Cut Out Cleanly
Damaged boards are cut out down the middle and pried away from their neighbors, so the tongues and grooves of the boards that stay are not split. Old nails are pulled or set below the surface so the new boards sit flat.
3. Weave In and Fasten
Replacement boards go in with their ends staggered to match the surrounding pattern, so no straight seam runs across the room. Each one is fastened and, where the last board cannot be nailed through its tongue, glued and face-fastened with the heads set and filled.
4. Sand and Finish to Match
The repaired area is sanded flush with the floor around it, stained if needed, and coated. Whether that is a blended spot or the whole room, we agree on it before the work begins so the result is the one you expected.
- 20+ Years on Wood Floors
- Stairs Quoted Tread by Tread
- Lead Checks Before Sanding