
Newton Wood Flooring has handled wood floor refinishing in Newton, MA for more than 20 years, serving surrounding cities including Watertown, Brookline, Needham, Wellesley and Waltham. We take tired oak, maple and pine back to bare wood and build a new finish on it, so a floor that looks finished for good is usually only a sanding away from looking new.
Most of the floors we refinish are older than the people who own them. That changes the job: the boards may have been sanded several times, coated in wax or shellac, patched where radiators stood, or sitting under paint at the edges. We look at all of that before a sander comes off the truck.
What you get is a plan written around your floor. It says whether a full sanding is safe, which repairs come first, what color and sheen you chose on samples, and when each room is back in use.
Is Your Floor Ready for a Full Refinish?
How Much Wood Is Left Above the Tongue
A solid hardwood board can only be sanded until the wear surface above the tongue runs out. Before quoting, we pull a floor register or look at a threshold edge and measure what remains. A floor with a generous wear layer can take a full sanding comfortably; one that has been sanded hard in the past may get a lighter grit sequence, or a screen and recoat instead.
That measurement protects you from the worst outcome in this trade, which is a floor sanded through to the tongue and the nail heads. Once that happens, no finish can hide it and the boards have to be replaced.
Worn Finish or Worn Wood
Traffic lanes, dull halls and scratched kitchens can mean two different things. If the wear is still in the finish, the wood underneath is fine and a recoat may be enough. If the finish is gone and the wood itself has turned gray, dented or stained, only a full sanding will bring it back.
We show you the difference on your own floor, usually with a damp cloth across a worn lane, so the decision is yours and based on what you can see.
Old Wax, Shellac and Mystery Finishes
Older floors often carry a shellac finish, paste wax, or years of cleaning products that leave a film. Modern finishes will not bond reliably to any of them. We test for residue before choosing a method, and a full sanding to bare wood removes it completely, which is what lets the new finish grip for the long run.
Shellac in particular is common under older floors, sometimes topped with a later coat of something else. It can look perfectly sound until a new waterborne coat goes over it and lifts in patches. Knowing what is already there is cheaper than finding out from a failed coat.
Our Step-by-Step Wood Floor Refinishing Process
1. Repairs Before Sanding
Loose boards are refastened, squeaks are tracked to their joist, and damaged boards are cut out and woven in with matching wood. Holes left where radiators came out, or where a wall was removed, are patched now, because the sanding that follows is what blends a patch into the field around it.
This is also when we pull any remaining staples, tack strip and carpet pad residue, set protruding nails, and remove quarter round where it would stop the edger reaching the wall. Doing the repairs first means the room is sanded once, not twice.
2. Sanding With a Grit Sequence
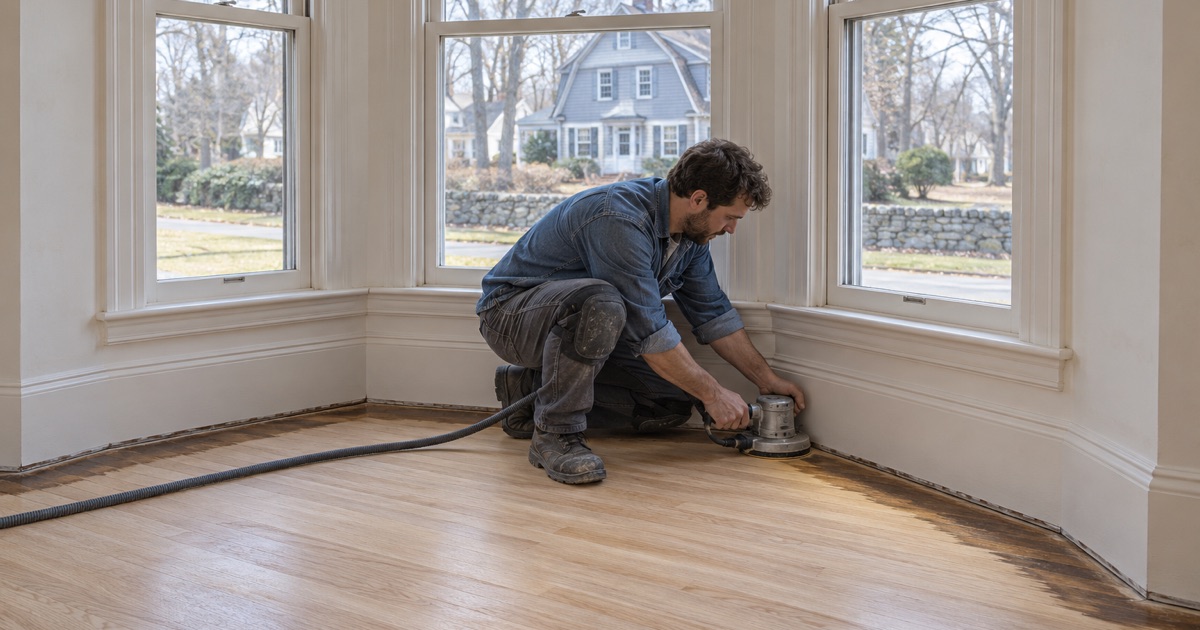
The field is sanded with a drum sander, the edges with an edger, and corners by hand, stepping through progressively finer grits so each pass removes the scratches of the one before. On older pine and soft maple, we keep the passes light. An orbital sander finishes the surface so no chatter marks show under the finish.
The sanders run into a HEPA vacuum, which keeps most of the dust out of the air. Between grits, the floor is vacuumed and checked in raking light for missed scratches.
3. Color, With Samples First
If you want stain, we lay stain samples directly on your sanded floor and let you see them in morning and evening light. Red oak, white oak, maple and pine all take stain differently, and a chip from a store rarely matches the result. Where a darker color needs to go on evenly, we use water popping to open the grain first.
4. Finish Coats
The finish goes on in thin, even coats with light abrading between them. Most floors get a sealer and two or more coats of finish, chosen to suit how the room is used and to fit the Massachusetts VOC limits for wood coatings, which are stricter than the federal ones.
Thin coats take longer than one heavy coat, but they level better, dry harder and are far less likely to trap dust or bubbles. The light abrading between coats is what lets each layer bond to the one beneath it rather than sitting on top.
5. Cure Time and Moving Back
Each finish has its own dry and cure times. We tell you when the floor can take socks, when furniture can come back on felt pads, and when rugs can go down. Rushing that last step is a common way to mark a brand new finish.
Choosing the Finish That Fits Your House
Waterborne Polyurethane
Waterborne polyurethane dries clear, keeps light woods close to their natural color, and has a low odor, which makes it practical when you are living in the house during the work. Modern waterborne products are durable enough for kitchens and halls, and they are the usual choice where low emissions matter.
On red oak, waterborne finish shows the wood’s own color rather than the orange tone many people associate with old floors. If you liked the warmer look, a lightly tinted sealer under the waterborne coats can bring some of it back.
Oil-Modified Polyurethane
Oil-modified polyurethane ambers over time, giving oak a warmer, more traditional color. It has a stronger odor and longer dry times, so it suits empty houses better than occupied ones. Choosing it is about the look you want as much as performance.
Hardwax Oil and Sheen Level
Hardwax oil soaks into the wood rather than sitting on top as a film. It gives a low, natural sheen and allows spot repairs, but it needs more routine upkeep than polyurethane. Whatever the product, sheen level matters: matte and satin hide wear far better than gloss in a busy household.
Refinishing Older Floors in Massachusetts
Lead Checks on Pre-1978 Houses
Massachusetts has its own lead-safe renovation rules for housing built before 1978, which covers most of the older homes we work in. Before sanding, we confirm the build year and check for painted borders, painted stair edges and painted baseboard bottoms that a sander could reach. Those surfaces are dealt with before the floor is touched.
The check takes minutes and changes nothing for most rooms. Where it does find paint in the work area, it changes the order of the job rather than the result, and it keeps lead dust out of a house that has children or pets in it.
Two-Family Houses, One Floor at a Time
In an owner-occupied two-family, the household upstairs or downstairs still has to live there while we work. We refinish one unit at a time, keep dust contained inside it, and time the coats so shared stairs and entries stay usable. Nobody has to move out because the whole building was sanded at once.
Old Tile and Mastic at the Edges
Sometimes a refinish uncovers more than wood. Old resilient floor tile and the black mastic under it turn up in kitchens, back halls and basements. We identify them and stop rather than sand or scrape, and the floor work continues once the right trade has handled them.
- 20+ Years on Wood Floors
- Stairs Quoted Tread by Tread
- Lead Checks Before Sanding